Learn the basics of document automation with MergeOS. Follow this guide to discover how to create a new project that generates Word and PDF files from an online form.
This quick start guide is a simple step-by-step introduction to how MergeOS works. My goal is to give you an understanding of the steps involved in creating an automated document. For this purpose, I'm going to keep it very general and focus on the process instead of creating a specific type of document. I'll show you how each part of the system works, with the goal of giving you that "light-bulb" moment where you realise how MergeOS can help you automate the documents you have in your business.
Step 1 - Create the Word document
The quickest way to start a new project in MergeOS is with a Word document that contains placeholder variables. So let's create one now.
1. Open MS Word or Google Docs and start a new, blank document.
2. At the top of the document, type or copy/paste the following text (paste as plain text or you'll get the black background colour) :
Hello {{ ["First Name"] }},
You were born on {{ ["Date of Birth"] }} and your favourite number is {{ ["Fav Number"] }}.
3. Save the document to your computer. Make sure that when you save or export the file it's in the DOCX format.
Step 2 - Create the Project
Now we need to create a new project in MergeOS. Projects are where we configure all the settings for automating our document.
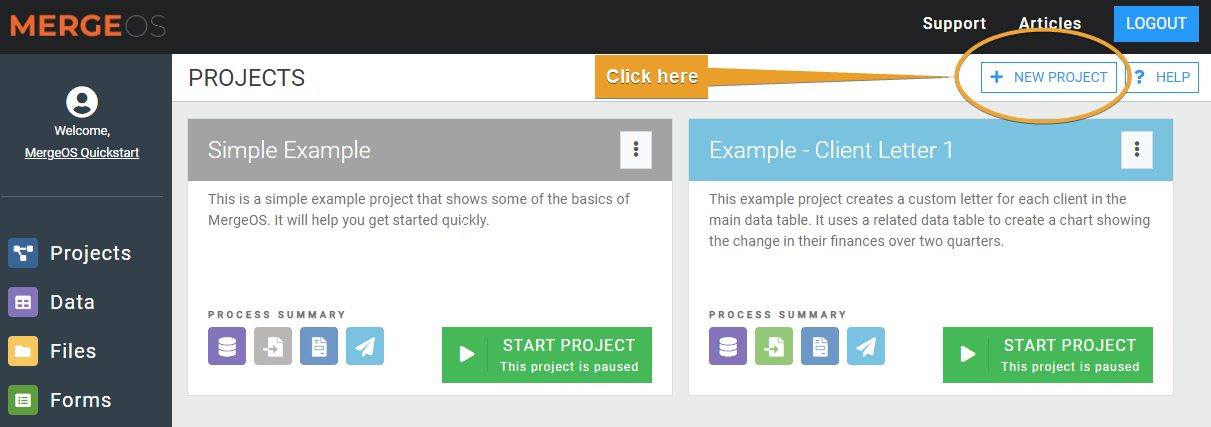
1. Login to your MergeOS account 2. Click on the New Project button located on the right of the heading
The New Project button on the Projects listing page
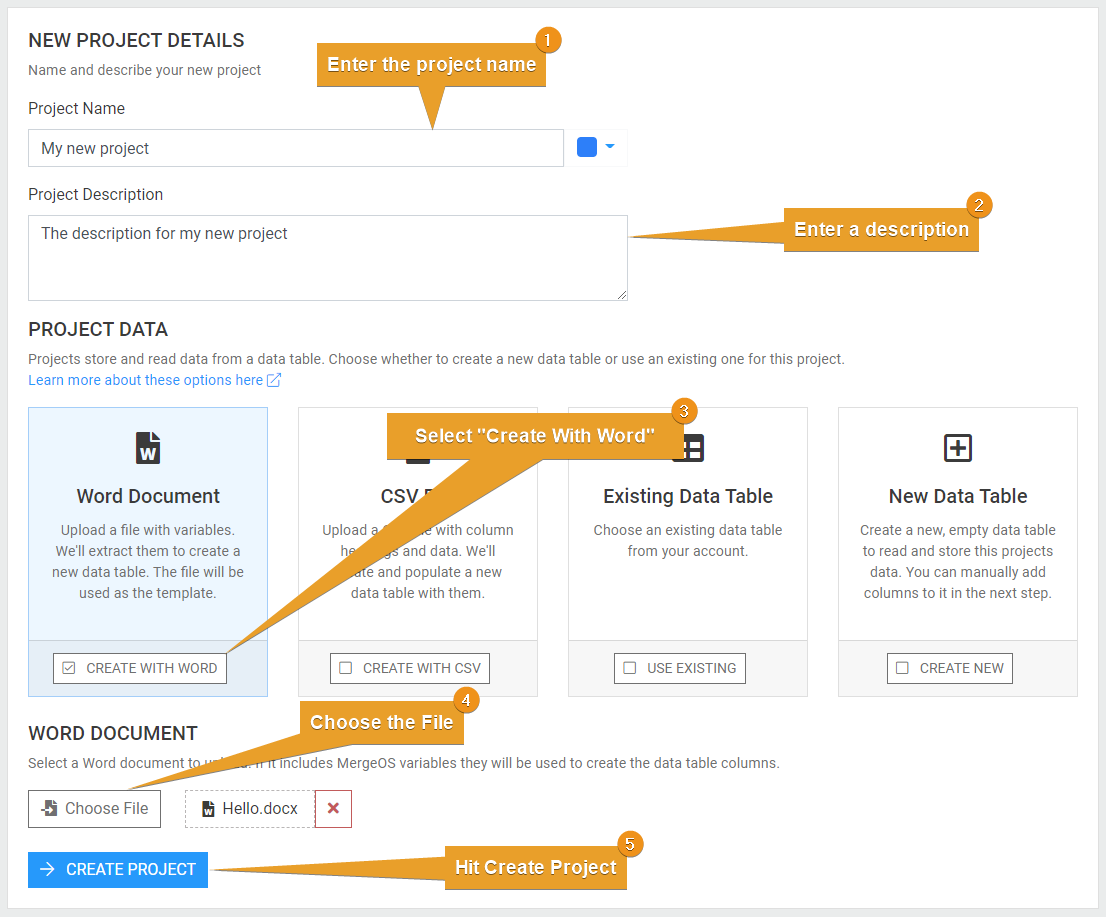
3. The New Project Details page will load. Enter a Project name and description, then choose the Create with Word option under the Project Data section. Click on the Choose File button and select the DOCX file you saved earlier, then click on the Create Project button.
The New Project Details screenAfter clicking Create Project, the Project configuration screen will load. We'll cover that in the next section, Step 3.
Step 3 - Configure the Data Columns
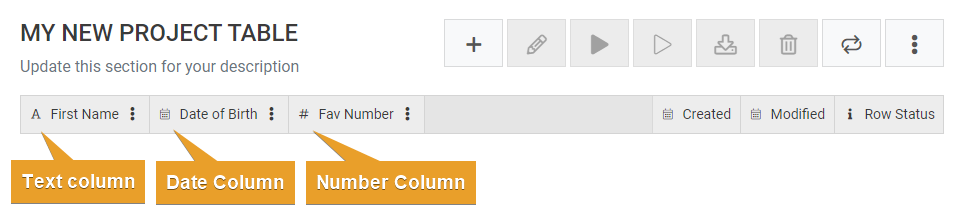
Here you can configure the columns that hold the data for the project. MergeOS has automatically created three columns based on the Placeholders it found within your Word document - First Name, Date of Birth and Fav Number. However, it doesn't know what type of data you want to save into each column, so in this step we configure the Data Type of each column.
1. On the Date of Birth column header, click the "3-dot" button to edit the column. "3-dot" edit button
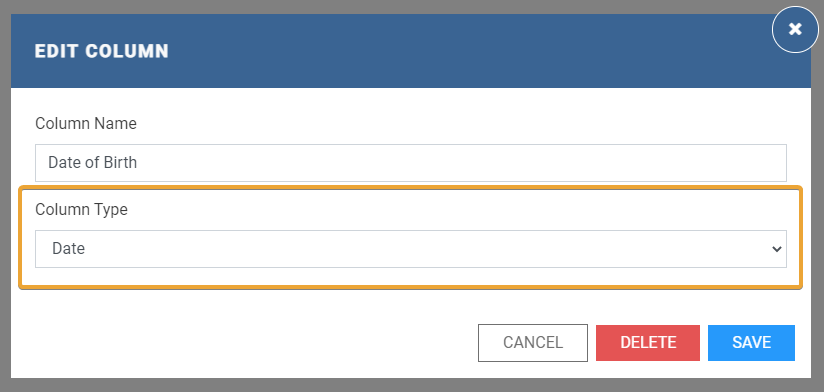
2. In the Edit Column dialog that appears, change the Column Type to Date and then click Save.
Edit Column Dialog
3. Now repeat that step for the Fav Number column header. However, instead of choosing date, choose Number, and then click save. Your table should now look like this: Final table configuration
Step 4 - Generate your First Document
So now we can use our project to automatically generate documents. As I mentioned earlier, using a document with placeholders is the quickest way to get a project up and running because it creates the data table columns and uploads the document template all in one step. MergeOS will also automatically create a web form for entering new records, and because we changed the column types, that web form will give us the correct field types too.
So let's get going on creating our first document using this project.
1. Click on the Start button located at the top of the page. Once a project is started, any records that are entered into the data table will be processed and generated into documents.
Starting your project
2. Now lets add our first record. Click on the square plus [ + ] button in the data table menu area to bring up the form.
Add new record button
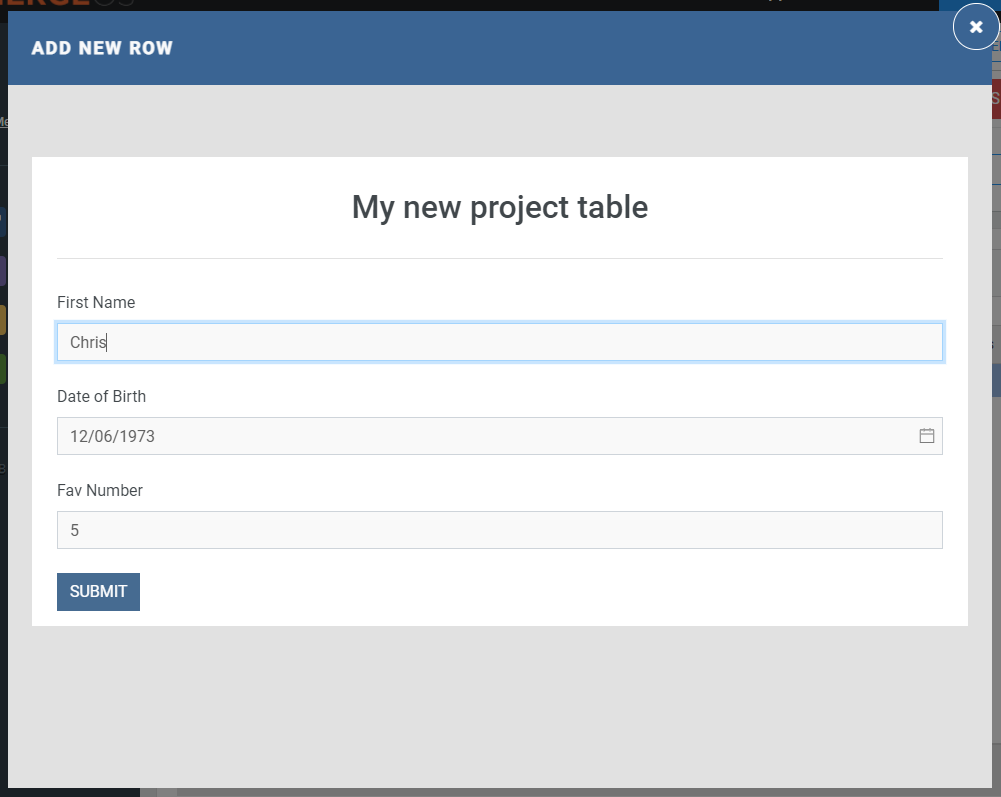
3. Enter values into each of the fields and click submit. You'll notice if you try and enter a word into the number or date fields it won't work. That's because the Date and Number fields automatically have validation because of the data type you chose previously.
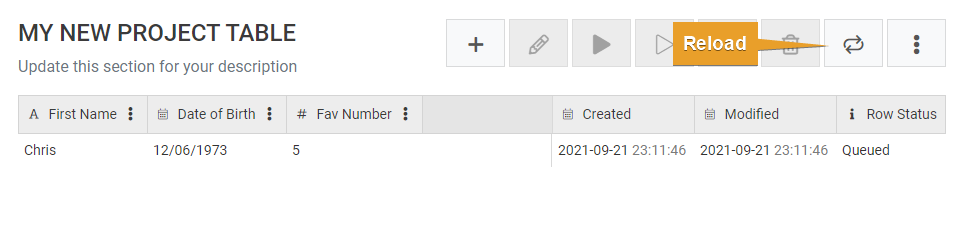
Adding a new record After clicking submit, the table will display with the new record you added. There are also some extra columns that MergeOS has populated with the Created and Modified date of the record. You'll also notice a Row Status column that says "Queued". Because we've started the project, MergeOS automatically queued this record to be generated.
4. Click on the Reload button to get the updated status of the record. The new row has been added!!
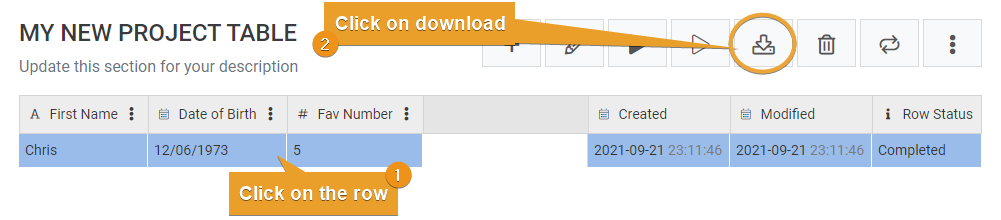
5. When the Row Status says "Completed", click on the Row to select it (it will turn blue) and then click on the Download button.
Downloading a generated document
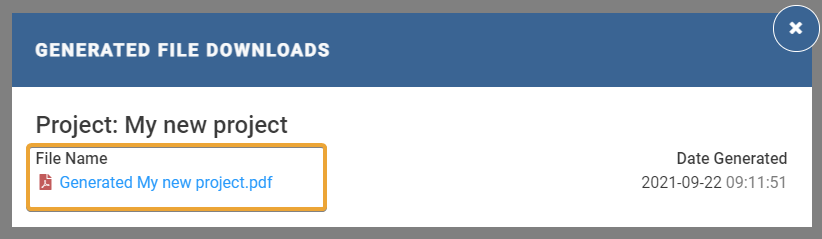
6. A dialog box will display that shows all the files generated for this record. Click on the link to download the file.
Generated files
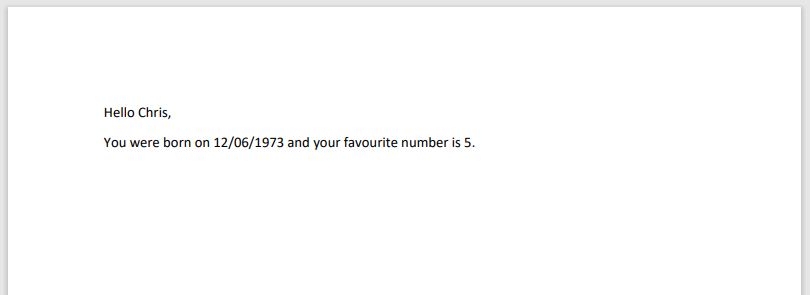
7. Open the file and you'll see that the Placeholders have been replaced with the values entered into the form.
The generated document You'll also notice that the file generated is a PDF. You can change this to be a DOCX file, or even to generate both a DOCX and a PDF. We'll cover that in a later step.
Pre-made Templates
You can get started quickly using our new pre-made templates feature. Give them a try here.